DIY Car Wash: Detail Like a Pro Secrets
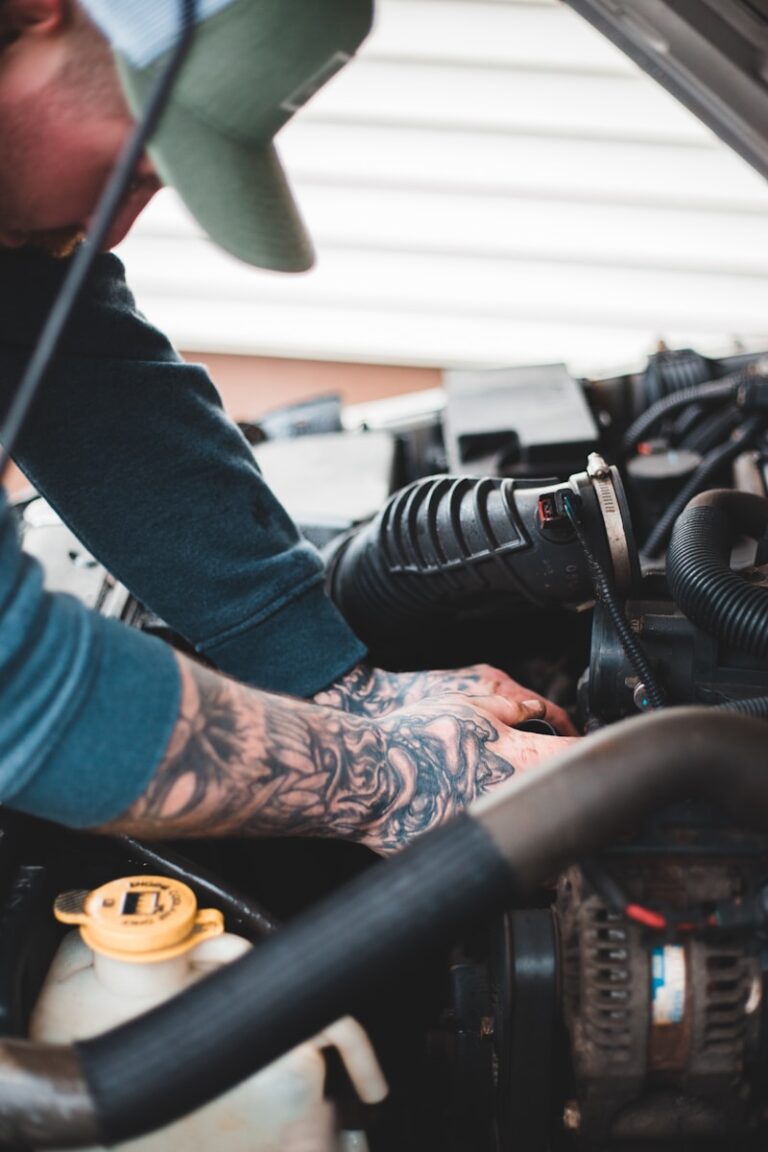
For many of us, our vehicles are symbols of pride and independence. From the classic muscle cars to the eco-friendly hybrids, every automobile deserves to shine. However, maintaining that showroom sparkle often means shelling out a pretty penny at professional detailing shops. But what if you could achieve those same stunning results in your own garage? This comprehensive guide is your roadmap to achieving a professional-grade detail from the comforts of your home.
In the world of car enthusiasts, there are secrets, precision, and a sense of accomplishment attached to the process. This isn’t just about washing off the dirt; it’s an art form, a cleansing ritual for both the car and its owner. Here we’ll go over the tools you’ll need, the meticulous steps to follow, and the insider tips that will make your DIY car wash stand out.

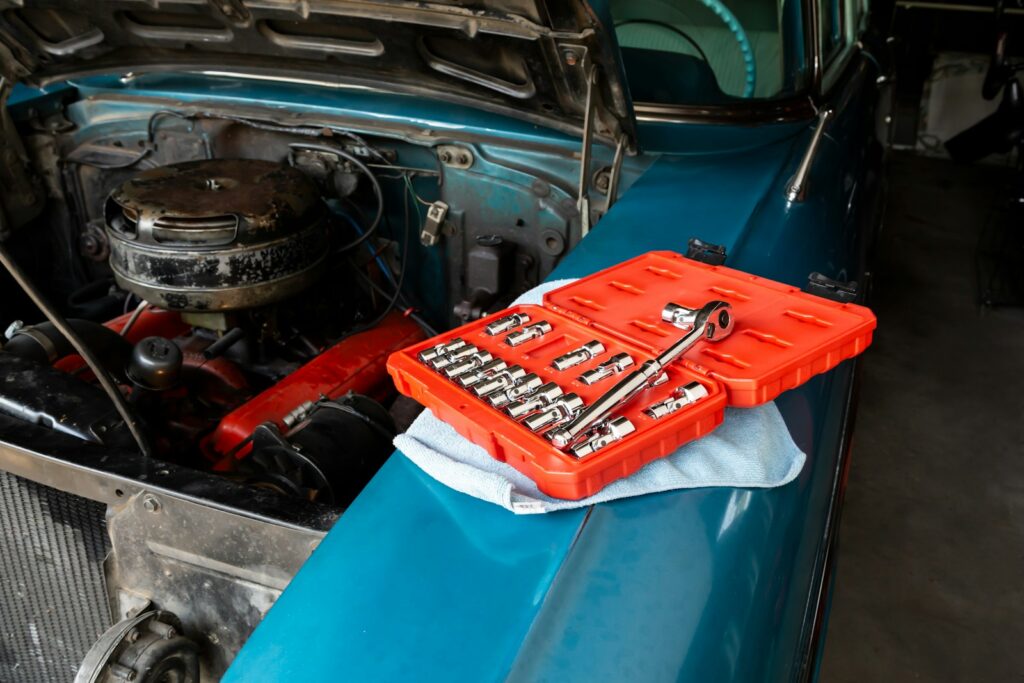
Tools and Supplies Needed
To start, gather the tools and supplies that will be your allies in your DIY detailing quest. From the essential wash mitt to the protective wax, each item plays a crucial role in the final look of your vehicle.
Your Essential Kit:
- Two buckets: One for soapy water, one for clean water. The two-bucket method is key to avoiding swirls and scratches on your paint.
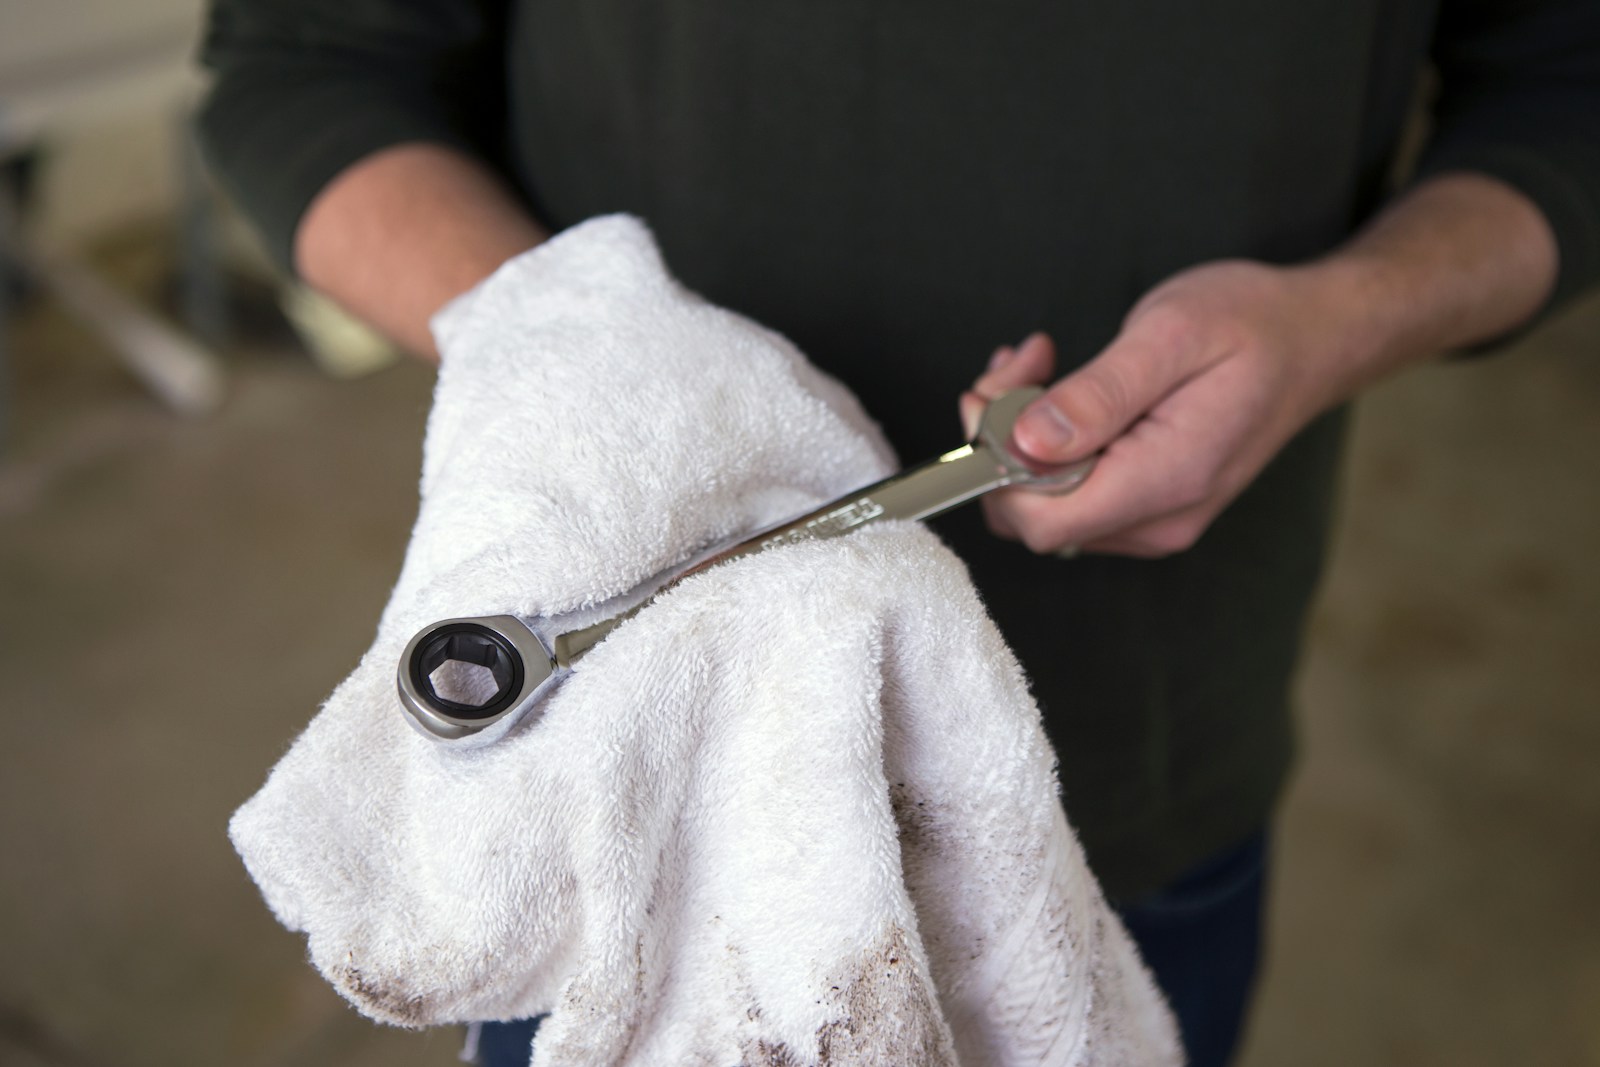
- High-quality microfiber towels: For drying, polishing, and waxing.
- Wash mitt: Opt for a soft microfiber mitt to gently scrub the surface without damage.
- Grit guards: To place in the bottom of your wash buckets to trap dirt and debris.
- Car wash soap: Avoid dish soap, as it can strip wax and leave your paint vulnerable.
- Wheel cleaner: For those tough brake dust spots.
- Tire brush: To apply the cleaner and scrub the tires and rims.
- Water blade or drying towel: For a fast and effective method of drying your car.
- Clay bar: Use this to remove embedded dirt and contaminants before waxing.
- Polish and wax: To bring out the shine and protect your paint.
- Interior cleaner: Be sure to use one that’s safe for all interior surfaces.
- A good vacuum: A high-powered one will provide the best results for your interior detail.
Optional but Highly Recommended Items:
- Pressure washer: If you have one, it can save you time and water during the rinse phase.
- Foam cannon or gun: For the pre-wash foam, which softens and loosens dirt for easier removal.
- Detailing brush: For those hard-to-reach nooks and crannies in the interior.
- Plastic trim restorer: To make faded plastic look new again.
- Protectant for your tires: To give them that fresh-out-of-the-factory look.
Remember, the investment in these tools is a long-term one. They’ll serve you for many future car washes, saving both time and money over repeated visits to the car wash.
Step-by-Step Guide
Preparing for your DIY car wash is all about taking it step by step. Here’s a guide to help you through the process, ensuring you don’t miss a spot or miss a step that could impact your car’s finish.
Pre-wash Preparation
Start with an inspection. Note areas that are particularly dirty and look for any sap, bird droppings, or other stains that may require special attention.
Give your car a good rinse. Before washing, a thorough rinse will help remove loose dirt and grime, preventing scratches when you wash.
Apply foam or pre-wash solution. If you have a foam gun, use this or else apply the pre-wash solution recommended for your vehicle. This step is especially helpful if your car is heavily soiled as it helps loosen grime before contact washing.
The Washing Techniques
The Two-Bucket Method: One for soapy wash and one for rinsing your mitt.
Top to Bottom: Always wash from the top down to avoid washing grime from the top onto a dirtier section lower on the car.
Use Light Pressure: You shouldn’t need to press your wash mitt into the paint. The soap should be doing most of the work.
Rinse Often: The more you rinse your mitt, the less chance there is of transferring dirt to your paint.
Drying and Polishing Tips
Start with the Water Blade: Use this to get most of the water off the car’s surface.
Use a High-Quality Microfiber Towel: Waffle-weave or other specially designed car towels work best.
Abide by the 80-20 Rule: Use 80% of your efforts for 20% of the surface area (the main body of the car), and the remaining 20% of your effort for the difficult-to-reach spots.
Interior Cleaning Hacks
Vacuum First: Always start with the vacuum to get rid of loose dirt and debris.
Use the Appropriate Cleaners: Different surfaces in your car require different cleaners. Be sure to use an appropriate cleaner for the dashboard, seats, and any other car areas.
Detail the Details: Have a smaller brush or detailing tool to get into tight cracks and seams.
Finish with the Glass: Your interior wouldn’t be complete without clean and smudge-free windows.
Pro Tips and Secrets
Every professional car detailer has a trick up their sleeve. Here are some they might not want you to know—but we’re happy to share.
Trick #1: The Contactless Rinse
Before scrubbing your car, use a pressure washer to blast the surface with water to remove as much dirt as possible first.
Trick #2: The Synthetic Chamois
Some professionals swear by synthetic chamois for drying cars to prevent water spots.
Trick #3: The Plastic Bag Trick
If your hand can fit in a bag, you can use it to aid in applying wax in small, hard to reach areas.
Trick #4: Quicker Dry with an Air Blower
A leaf blower can speed up the drying process, including blowing water out from around side mirrors.
By incorporating these tricks into your routine, you can save time and potentially improve the quality of your finish.
Maintenance Tips
A great car wash is only the beginning. To maintain that freshly-detailed look, there are some practices to keep in mind between washes.
Keep It Covered
If you have a garage or carport, use it. It’s the quickest and most effective way to prevent dirt and grime from building up.
Regular Touch-Ups
Keep a bottle of quick detailer and a microfiber cloth in your car, and use them frequently for small touch-ups.
Monitor the Surroundings
Be mindful of where you park. Trees can drop sap, and birds have been known to get very creative.
Wash Regularly
Consistency is key. The more regularly you wash, the easier it will be each time, and the better your car will look.
Conclusion
With these secrets and techniques, you’re well on your way to achieving that professional finish right in your own driveway. The satisfaction of stepping back and seeing a glimmering machine that looks nearly new, thanks to your hard work, is a reward in itself.
Give it a go, take your time, and remember to enjoy the process. This isn’t just about a clean car; it’s about nurturing a relationship with a machine that plays an integral role in our daily lives. You might just discover a new hobby in the process.
DIY detailing saves you money, deepens your connection to your car, and allows you to pamper your ride exactly the way you want to. And with these professional secrets in your back pocket, there’s no reason not to give it a try.