DIY Brake Pad Check & Change: Essential Guide for Safe Stopping
Whether you’re driving your dream car or simply using a reliable vehicle to get from A to B, there’s one aspect of maintenance that every car owner should become well-versed in – checking and changing the brake pads. The importance of this component in your car’s safety cannot be overstated. Proper functioning brake pads are essential to ensuring you can stop your vehicle safely and efficiently, especially in emergency situations.
In this comprehensive guide, we’ll walk you through the critical steps involved in checking and changing your brake pads. Designed for car enthusiasts looking to take a more hands-on approach to their vehicle care, this resource will not only demystify the process but also empower you to maintain the reliability and safety of your car. Let’s hit the road to brake mastery!
Understanding Brake Pads
Brake pads are a fundamental part of your vehicle’s braking system. When you step on the brake pedal, these little contraptions rub against the brake rotors, creating the much-needed friction to slow down and stop your car. Here’s what you need to know about them.
Brake pads come in various types, each with its own set of pros and cons. The most common types include organic, semi-metallic, and ceramic. Organic pads are made from a mixture of fibers and fillers bonded by resin, offering quiet operation and adequate performance. Semi-metallic pads, as the name suggests, contain metal fibers within them, providing better heat transfer and durability. Ceramic pads, renowned for their noiseless and clean operation, typically outlast organic and semi-metallic pads.
Signs of Worn Brake Pads
Your vehicle communicates when your brake pads are calling out for replacement. Here are some telltale signs:
- Squeaking or grinding noises during braking
- The brake pedal requires greater effort to stop the car
- Vibrations or pulsations are felt when you brake, indicating possible damage to the rotors
If you notice any of these symptoms, don’t procrastinate. It’s time for a brake pad check-up.
DIY Brake Pad Check
First things first, safety is paramount. Make sure the car is parked on a level surface and the handbrake is engaged. Wear protective eyewear and gloves. Here’s how you can check your brake pads:
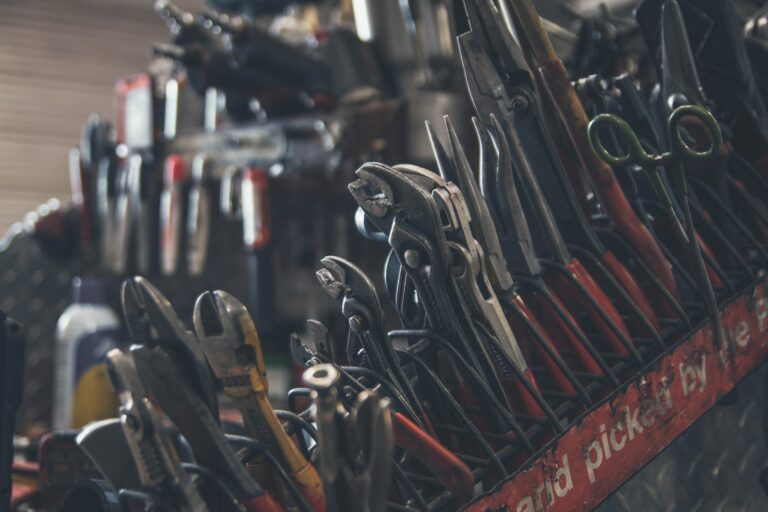
Tools and Equipment Needed:
- Jack (hydraulic or scissor)
- Axle stands or ramps
- Flashlight
- Caliper piston tool (if needed)
- C-clamp
The Method:
- Loosen the lug nuts on the wheel.
- Raise the car with the jack and secure it on axle stands or ramps.
- Remove the wheel to gain access to the brake assembly.
- Shine the flashlight to peer through the spokes of the wheel at the brake caliper.
- Inspect the thickness of the brake pad. If it’s less than 1/4 inch, it’s time for a replacement.
- Look for even wear across the pad’s surface. If it’s uneven, there may be a problem with the caliper mechanism that needs attention.
- Repeat the process for all other wheels.

DIY Brake Pad Change
When it’s clear your brake pads need changing, don’t fret—you can handle this yourself. Just follow these detailed steps:
Tools You’ll Need:
- Wrench or ratchet set
- New brake pads
- Brake fluid
- Silicone lubricant
- Jack stands
- Torque wrench
Step-by-Step Replacement:
- Begin by removing the wheel.
- Undo the caliper bolts to release the caliper from the rotor.
- Hang the caliper with a wire hanger to avoid putting stress on the brake lines.
- Remove the old brake pads and use a C-clamp to compress the caliper piston.
- Check the rotor for signs of wear or damage. If necessary, have it resurfaced or replaced.
- Install the new brake pads. Make sure to apply a thin layer of brake grease on the back of the pads for noise reduction.
- Put the caliper back in place, and secure the bolts.
- Replace the wheel and lower the vehicle.
- Pump the brake pedal a few times to restore the brake pressure and close the gap between the pads and rotor.
- Finally, test your brakes in a safe, clear area to ensure they’re functioning properly.
Safety Tips
Safety is never a backseat concern, especially when it comes to brakes. Here are additional tips to ensure a smooth brake pad replacement:
- Always use jack stands; never rely on just a jack.
- Follow proper tightening procedures and use a torque wrench to secure bolts to the manufacturer’s recommended specification.
- After installing the new pads, perform the brake pad bedding process. This involves a series of moderate brake applications followed by a cooling off period, allowing the pads to transfer a film of friction material onto the brake rotor.
Conclusion
Understanding and maintaining your car’s brake pads is not only a financially prudent decision but a critical aspect of safe driving. With this guide, you are now equipped to take on the responsibility of inspecting and changing your brake pads. Remember to double-check every step and prioritize safety at all times. Your diligence will ensure that your vehicle’s braking system is in top form, allowing you to drive confidently—knowing that you have the tools and knowledge to intervene when necessary. Happy driving and safe stopping!

