DIY How to Check and Replace Your Car’s Serpentine Belt
Your serpentine belt—the unsung hero of your car’s engine—is a crucial component that keeps many of the basic systems running smoothly. If your serpentine belt fails, you could be left stranded. Hence, understanding how to regularly inspect and replace it is an essential skill for any car owner. In this detailed guide, we’re walking you through the process step by step, empowering you to take control of your car’s maintenance routines in a cost-effective and proactive manner.

Understanding the Serpentine Belt
The Powerhouse of Your Car’s Engine
The serpentine belt, also known as the drive belt, winds its way through the engine, connecting various components to the crankshaft, the main component that the belt is powered by. Unlike older vehicles that had multiple belts for different accessories, most modern cars use a single serpentine belt to drive the alternator, power steering pump, air conditioning compressor, and other accessories. This makes the serpentine belt the lynchpin of the vehicle’s operation, and understanding its function is the first step to appreciating its maintenance.
Tools Needed
Before You Begin
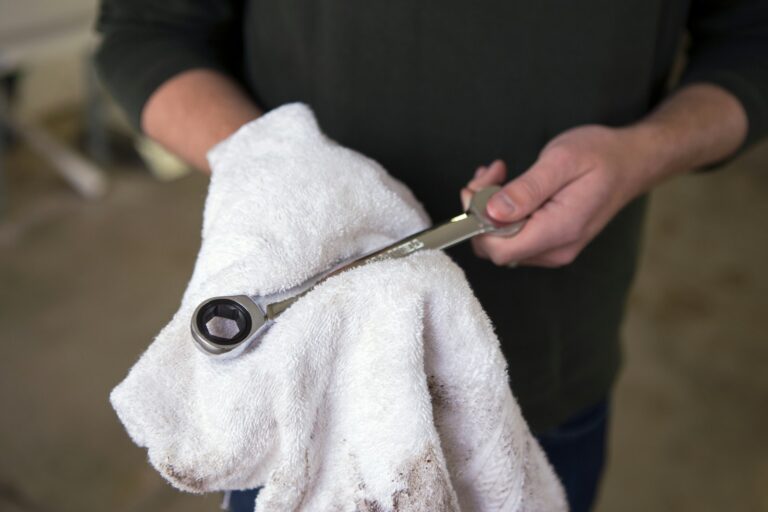
To get started, gather the necessary tools to safely and effectively replace your serpentine belt. The tools required for this job may vary based on your car’s make and model, but here’s a general list to guide you:
- Socket or serpentine belt tool kit
- Wrench set
- New replacement belt (Note down your car’s year, make, and model before purchasing)
- Gloves and protective eyewear
Step-by-Step Guide
Now, it’s time to roll up your sleeves and get hands-on with your car’s serpentine belt.
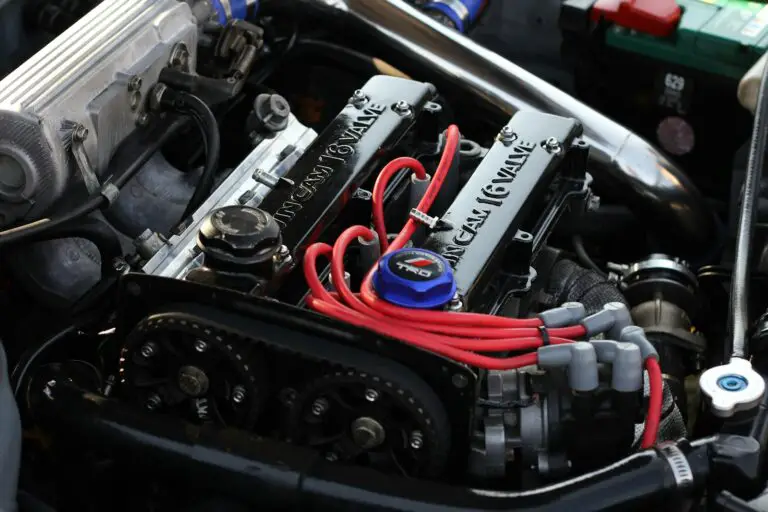
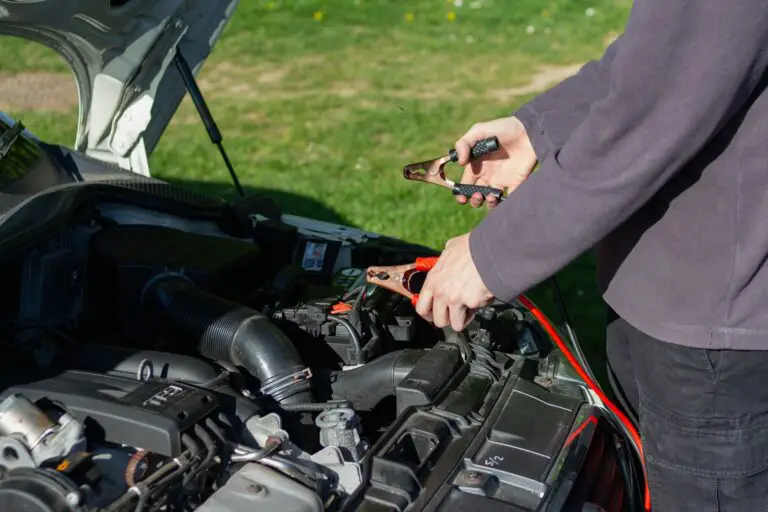
Step 1: Inspecting the Belt
Park your car on a level surface and allow the engine to cool down. Open the hood and locate the serpentine belt. Check the belt for any fraying, glazing, or visible signs of damage. You should also push down gently on the belt’s longest unbroken section—there should be minimal give or play. If the belt is loose or shows signs of damage, it’s time for a replacement.
Step 2: Identifying Signs of Wear
It’s not just about surface damage; worn-out belts can also produce a squealing noise, especially when you start the engine or when turning at a tight angle. You might notice the battery light on your dashboard flickering, indicating an issue with the charging system, often attributed to a failing serpentine belt.
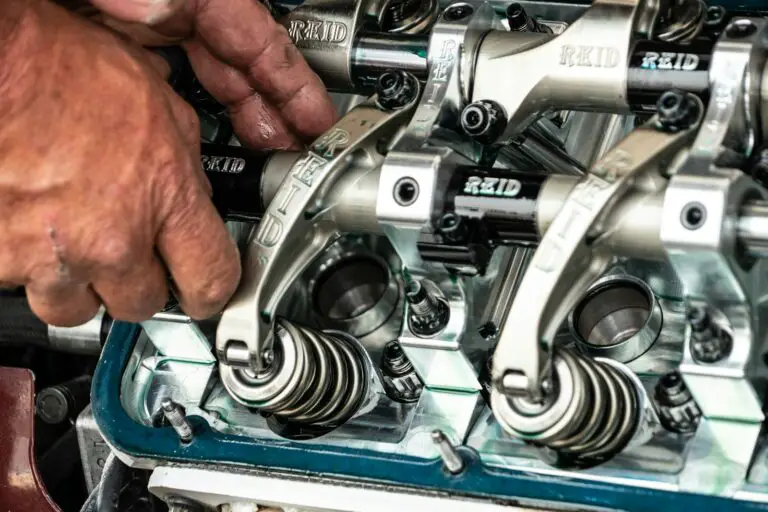
Step 3: Removing the Old Belt
This step can be a bit tricky and may require some agility working within the constraints of your engine bay. Begin by locating the tensioner pulley and using your wrench or belt tool to release the tension on the belt. Slide the belt off the pulley, and carefully work it out from the various components it’s driving. For some cars, you may need to remove other belts or even components for easier access.
Step 4: Installing the New Belt
Before installing the new belt, take note of the belt’s routing. Using the diagram under your hood or the owner’s manual, thread the new belt through the pulleys as per the manufacturer’s guidelines. Keep the tensioner depressed, allowing the belt to loop around the last pulley. Gradually release the tensioner to apply the appropriate tension. This step is critical; a belt that’s too tight can damage bearings and shafts, while one that’s too loose can slip.
Step 5: Testing and Final Checks
With the new belt in place, start your engine and observe it for a couple of minutes. Listen for unusual noises and check the belt for proper function. Switch on accessories like the air conditioner and the radio to put various levels of strain on the belt. Finally, park the car and give the belt one last inspection.
Benefits of DIY Maintenance
The Reward of Taking Charge
Performing a serpentine belt replacement on your own brings several benefits. It’s a great way to save money compared to dealership and mechanic prices. More importantly, taking control of your car’s maintenance can add years to its lifespan. It allows you to spot potential issues early before they escalate into costly repairs, and also fosters a deeper connection with your vehicle.
Conclusion
Car maintenance doesn’t have to be a daunting task. By learning how to check and replace your serpentine belt, you’re not just saving money, you’re ensuring that your vehicle continues to operate reliably. Empower yourself with the knowledge and skills to tackle these DIY projects. With each successful maintenance task, you gain confidence, make your car safer to drive, and even enjoy a sense of satisfaction that comes from being a savvy car owner. Remember, your vehicle is a significant investment; treat it with the care it deserves.