
Auto TLC: Mastering DIY Car Maintenance
Car enthusiasts experience more than the thrill of the open road. They revel in the hum of the finely tuned engine, savor the control of expert handling, and appreciate the intricate craftsmanship of a well-designed vehicle. Yet, beyond the adrenaline rush and aesthetics, lies a deeper bond with the machine – one that’s fostered through the mastery of DIY car maintenance.
The bond between a car enthusiast and their vehicle is one of the most enduring relationships in modern culture. It’s a relationship rooted in mutual care and understanding, where the enthusiast not only drives their car but also tends to its needs. In this extensive guide, we’ll explore why DIY car maintenance is not just for the mechanics and how it can enhance every aspect of a car lover’s experience.
The Importance of DIY Car Maintenance for Car Enthusiasts
For many, a car is much more than just a mode of transportation; it’s a statement, a hobby, and often, an investment. In the heart of the car enthusiast, the act of maintaining one’s vehicle becomes a personal endeavor akin to nurturing a living entity. By taking on DIY maintenance, enthusiasts take full ownership of the car ownership experience. This level of engagement translates to a well-cared-for vehicle that boasts not only a longer lifespan but also better performance.
Benefits of Taking the Maintenance Wheel
The allure of DIY car maintenance goes beyond financial savings, although that’s certainly a big part of it. For the car enthusiast, there’s a wealth of personal satisfaction and skill development that comes with every oil change, tire rotation, and the more nuanced repairs.
Cost-Effectiveness and Savings
Routine maintenance at a service center can rack up substantial costs over the life of a vehicle. By performing these tasks yourself, you bypass labor charges and often enjoy bulk discounts on basic maintenance items.
Skill Development and Knowledge Enrichment
Every wrench turned and every diagnostic reading not only saves money but also grows your technical understanding of your vehicle’s mechanics. This knowledge can empower you to make informed decisions about upgrades, modifications, and future vehicle purchases.
Personal Satisfaction and Achievement
There’s a special kind of pride that comes with solving a problem or completing a task with your own two hands. The same is true for car maintenance. Each DIY victory brings about a sense of accomplishment that reverberates through your car-loving soul.
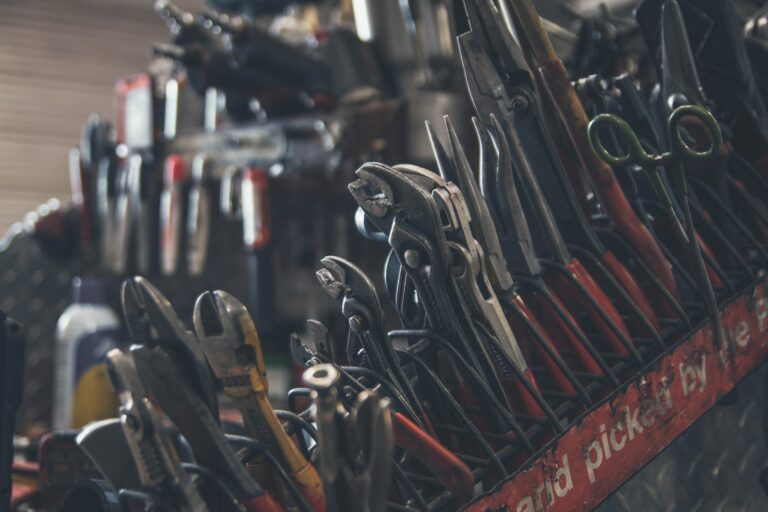
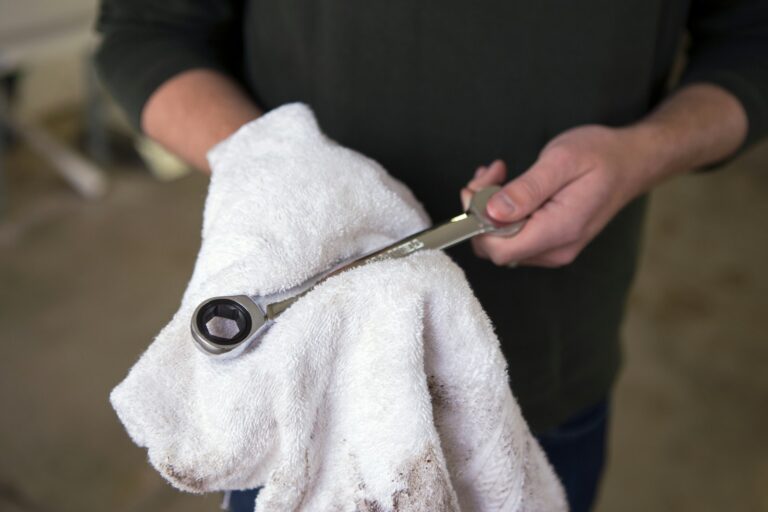
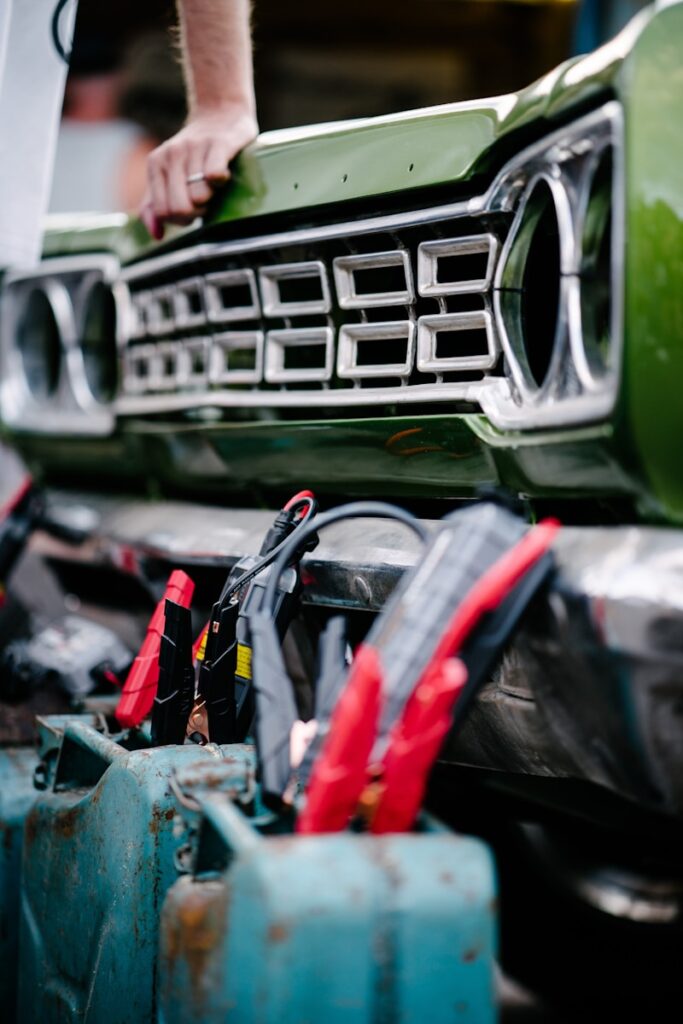
Essential Tools and Supplies for the Job
No carpenter crafts a masterpiece without their tools, and no car maintenance enthusiast should attempt their work without the essentials. Consider this list the beginning of your DIY car maintenance toolkit—a comprehensive starting point for aspiring auto technicians.

Must-Have Tools for Your DIY Car Maintenance Kit
- Wrench Set: Versatile and necessary for many under-the-hood tasks.
- Socket Set: A complement to your wrenches and excellent for tackling nuts and bolts.
- Jack and Jack Stands: Safety comes first; these will help you keep your car stable while working underneath.
- Oil Filter Wrench: A specialized tool for secure and easy oil filter removal.
- Torque Wrench: Essential for tightening bolts to manufacturer specifications.
- Code Reader: For diagnosing engine issues and finding solutions.
- Oil Drain Pan: Mess-free oil changes start with the right pan.
- Funnel Set: To ensure that fluids go where they need to be and not anywhere else.
Remember, investing in quality tools pays off in the long run. They are not just for now but for every maintenance task in the future.
Basic Car Maintenance Tasks You Can Master at Home
Starting with the basics is not only logical but also the best way to build your confidence in car maintenance. These fundamental tasks will not only keep your vehicle in top condition but also equip you with universal skills that can be applied to any car.
The Oil Change: Stepping into the Depths of Maintenance
One of the foundational DIY car maintenance tasks is the oil change. Regular oil changes keep your engine running smoothly and are crucial for longevity. Here’s a step-by-step guide to changing your car’s motor oil:
- Step 1 – Prepare Your Vehicle: Ensure your engine is neither hot nor cold but at a safe operating temperature. Warm or cold oil can make the task more difficult and less effective.
- Step 2 – Drain Old Oil: Place your oil drain pan under your car’s oil pan and remove the drain plug. Allow the old oil to drain completely into the pan.
- Step 3 – Replace the Oil Filter: Unscrew the old oil filter (use your oil filter wrench if necessary) and replace it with a new one. Make sure to lubricate the gasket with oil before installing the new filter.
- Step 4 – Refill with New Oil: Using your funnel, refill your engine with the manufacturer’s recommended amount and type of new oil.
- Step 5 – Check Levels and Start the Engine: Use your dipstick to check the oil level. Ensure it’s in the safe range. Start the engine and check for any leaks.
Tire Rotation: An Even Footing Across All Treads
Tire rotation is essential for maintaining even tread wear, which can extend the life of your tires and ensure better handling on the road. The process involves moving each tire to a different position on your vehicle to ensure all tires wear evenly.
- Step 1 – Locate Your Spare Tire: Find a safe, flat area, and ensure your vehicle is in park. Place blocks in front of your front tires.
- Step 2 – Loosen the Lug Nuts: Using a lug nut wrench, loosen the lug nuts on all four tires.
- Step 3 – Lift the Vehicle: Use a jack to lift the vehicle enough to remove each tire safely.
- Step 4 – Remove Tires and Rotate: Take off each tire and move it to the new position. This is typically a front-to-back and back-to-front rotation. In some cases, the spare tire will replace the right or left rear tire.
- Step 5 – Tighten Lug Nuts: Replace the lug nuts and tighten them by hand to prevent cross-threading. Once lowered, use a wrench to torque the lug nuts to the manufacturer’s specifications.
Air Filter Replacement: Breathing New Life into Your Engine
A clean air filter is crucial for optimal engine performance and fuel economy. Here’s how to replace your engine’s air filter:
- Step 1 – Locate Your Air Filter: Your vehicle owner’s manual will show you where to find your air filter.
- Step 2 – Remove the Old Air Filter: Open the air filter compartment. Remove and inspect the old air filter and note which direction the filter is facing.
- Step 3 – Clean the Air Filter Housing: Wipe away any dust and debris from the air filter housing using a damp cloth.
- Step 4 – Install the New Air Filter: Place the new air filter in the compartment so that the arrow is pointing in the same direction as the old one.
- Step 5 – Close the Air Filter Compartment: Ensure the filter is properly seated, close the compartment, and latch it securely.
These DIY car tasks are not only crucial but also relatively simple to perform with some practice and attention to detail.
Advanced DIY Repairs for the Seasoned Enthusiast
Once the basics have been mastered, the truly rewarding experience of advanced DIY car repairs awaits. Tackling more complex tasks can deepen your understanding of your vehicle and save substantial money on professional labor.
Brake Pad Replacement: Stopping at Nothing for Safety
Brakes are arguably the most crucial safety system in your vehicle. Knowing how to replace brake pads is an incredibly valuable skill for any home mechanic.
- Step 1 – Check Pads and Discs: Remove the wheel to inspect the brake pads. Ensure the condition of the brake discs is also checked.
- Step 2 – Prepare the Caliper: Use a wrench to loosen the caliper bolts. Slide the caliper off the rotor.
- Step 3 – Remove the Old Pads: Carefully remove the old brake pads, paying attention to where any shims, springs, or other hardware is located.
- Step 4 – Clean the Calipers: Thoroughly clean the caliper and mounting bracket with a brake cleaner to remove brake dust and other contaminants.
- Step 5 – Install the New Pads: Apply any provided lube to the backs of the new brake pads. Install them into the caliper mounting bracket.
- Step 6 – Reassemble the Caliper: Slowly compress the caliper piston back into the caliper housing using a C-clamp to create space for the new, thicker brake pads.
- Step 7 – Test the Brakes: Ensure that the caliper is securely in place, and then reinstall the wheel. Once replaced, test the brakes at low speed to ensure they are functioning properly.
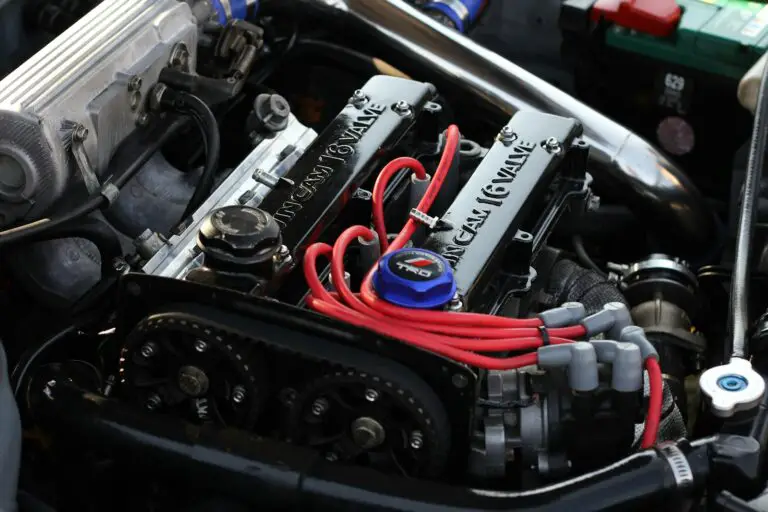
Spark Plug Change: Igniting Passion for Performance
Spark plugs play a vital role in starting and powering your vehicle. Over time, the gap on a spark plug can widen and degrade its ability to create a good spark. Replacing them is a key part of vehicle maintenance.
- Step 1 – Locate the Spark Plugs: The location of the spark plugs varies depending on your car’s make and model. Refer to your owner’s manual for specific instructions.
- Step 2 – Prepare the Spark Plug Socket: Once you’ve found the plugs, attach the spark plug socket to the ratchet driver.
- Step 3 – Remove the Old Spark Plugs: Twist the spark plug socket onto the old spark plug until it’s snug, then use the ratchet driver to turn and loosen the plug.
- Step 4 – Gap New Spark Plugs: Use a spark plug gap tool to check the gap of the new plugs. Adjust as needed to match the manufacturer’s specifications.
- Step 5 – Install the New Spark Plugs: Apply a small amount of anti-seize lubricant to the threads of the new spark plug. Carefully thread the new plug by hand to avoid cross-threading.
- Step 6 – Tighten the New Spark Plugs: Use the ratchet driver and spark plug socket to tighten the plug until it’s snug. Do not over-tighten.
- Step 7 – Connect the Spark Plug Wires: Reconnect each wire to the corresponding spark plug by pushing until you hear a click.
Always replace spark plugs one at a time to ensure the correct order is maintained, and be sure to follow the manufacturer’s torque specifications.
Fluid Checks and Refills: The Lifeblood of Your Vehicle
Regularly checking and refilling your car’s essential fluids is vital for its operation and longevity. Here are some key fluids to keep an eye on and how to maintain them:
- Engine Oil: Regularly check your engine oil level and condition. If it’s dirty or past the recommended mileage, it’s time for an oil change.
- Transmission Fluid: Your transmission should be checked with the engine running. Look for discoloration or particles in the fluid, and ensure it’s at the proper level. Consult your owner’s manual for how often to change it.
- Coolant/Antifreeze: Check the coolant level and the condition of the coolant. It should be changed according to your manufacturer’s recommendation.
- Brake Fluid: Look for any discoloration in the brake fluid, and ensure it’s at the proper level. Brake fluid should be changed every 30,000 miles or as recommended by your vehicle’s manufacturer.
- Power Steering Fluid: Inspect the level and condition of the power steering fluid with the engine running. Top off if necessary, and change as recommended.
Keeping your car’s fluids in good condition is one of the most effective maintenance steps you can take to ensure your vehicle runs smoothly.
Safety First: The DIY Maintenance Golden Rule
Performing maintenance on a vehicle can be a rewarding and empowering experience, but it can also be dangerous if not approached with the right level of respect and preparation. Safety should always be the top priority for any DIY vehicle maintenance project.
The Importance of Safety Gear
• Eye Protection: Always wear safety glasses when working on your car, especially when dealing with power tools or working under the car.
• Gloves: Protect your hands from cuts, bruises, and exposure to fluids with a sturdy pair of gloves.
• Respirator/Mask: When working with fine particles or in areas with poor ventilation, wear a respirator or mask to protect your lungs.
Tips for Safe DIY Maintenance Practices
• Educate Yourself: Before starting any repair, make sure you fully understand the process and have a clear plan.
• Use Proper Tools: Using the correct tools for the job not only makes the work easier but also ensures safety and precision.
• Be Methodical: Perform tasks in order and keep track of all parts, screws, and fasteners you remove.
• Use Jack Stands: Never rely on a jack alone to support your car. Always use jack stands as an extra safety measure when working under the vehicle.
• Know When to Call for Help: If a job seems too difficult or unsafe, call a professional. Your safety is not worth the risk.
By adhering to these safety principles, you can prevent accidents and ensure that your DIY car maintenance experience is a positive one.
In Conclusion: The Road to Automotive Empowerment
There is an unmistakable feeling of empowerment that comes with taking control of your car’s maintenance. By venturing into DIY car care, you not only save money but also enhance your driving experience, develop new skills, and deepen your connection with your vehicle.
Every turn of the wrench is a step toward a more fulfilling automotive hobby. Remember, the road to becoming a proficient DIY car mechanic is not a race but a rewarding journey of continuous learning and growth. Start small, build your confidence, and soon you’ll be taking on challenges that you never thought possible. The pursuit of automotive knowledge is as endless and exciting as the open road itself.
For car enthusiasts, each effort to maintain their vehicle is an act of love, a personal touch that ensures their wheels are well-oiled machines ready to take on the world. Ready to get started? Your garage is the first stop on the voyage to automotive mastery. Gather your tools, roll up your sleeves, and prepare to give your four-wheeled companion the TLC it deserves.